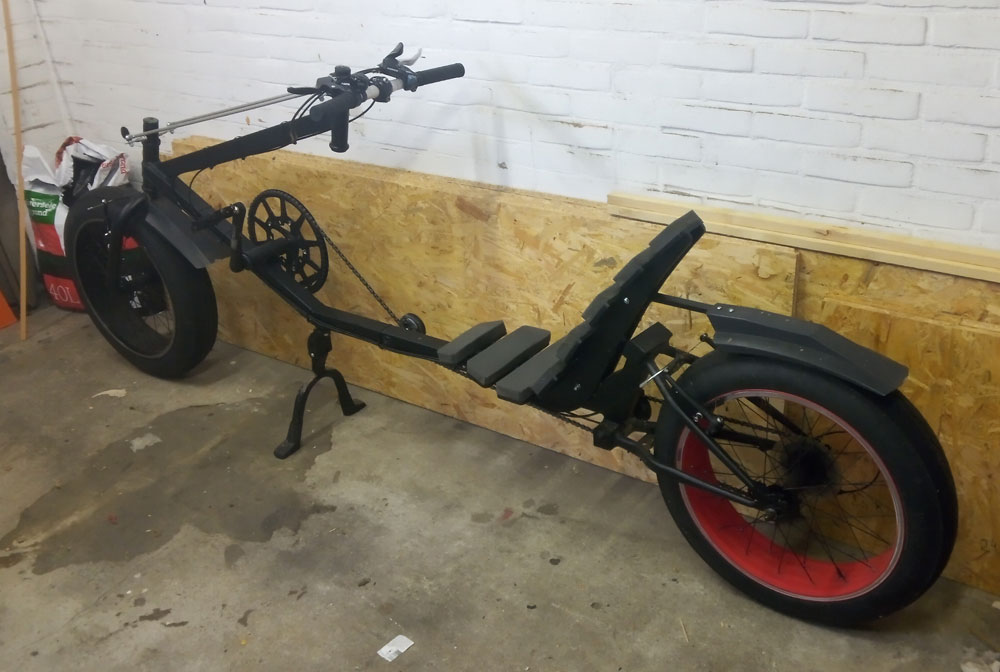
Homebuilt LWB recumbent inspired by Groundhugger XR2
Since i was young i've had the idea to build my own recumbent bike. Over the years I have looked at various designs but dreaded the technical challenge. I also didn't like the exaggerated lying position because it looked too uncomfortable. Eventually i came across a design that made you sit more upright, namely the XR2 Groundhugger. Based on this design i designed and built my own bicycle.
To reduce costs and make things technically easier i decided to make the frame from 40 x 40 x 2 mm square steel tubing. And to use second-hand “donor” kidsbikes for parts. For the wheels, rear fork, bottom bracket, front fork, V-brakes, rear derailleur and the front headset I used a second-hand "MBM FatX 20 inch" kidsbike.
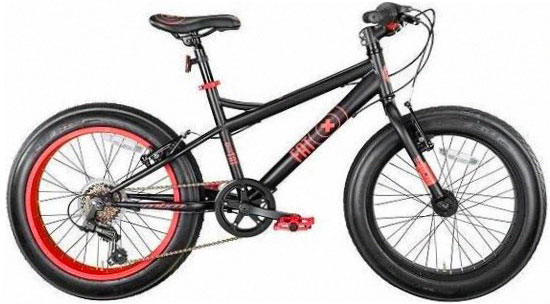
The frame of this bike is made of mild steel making it easy to weld. The “fat bike” tires provide more resistance but are comfortable and look nice. I bought a cheap bicycle for the rear headset. I don't remember the brand, but it is important that the bicycle is made of mild steel so that it is easy to weld.
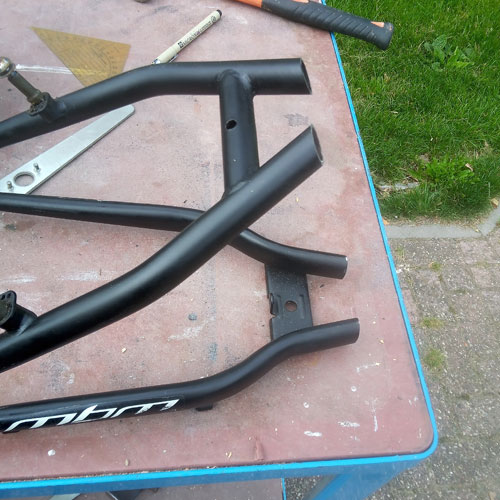
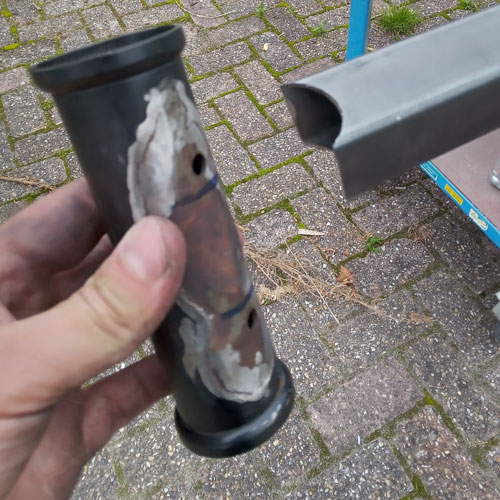
Dismantling the kidsbike
The next step consists of disassembling the bicycle and cutting loose the bottom bracket, rear fork and headset.
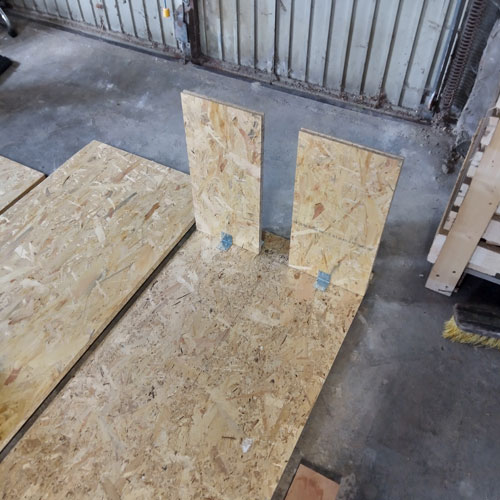
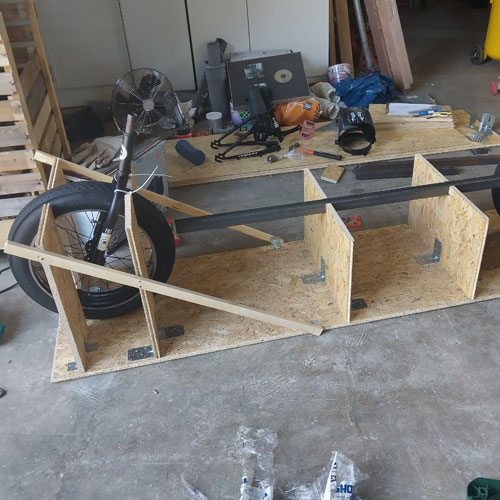
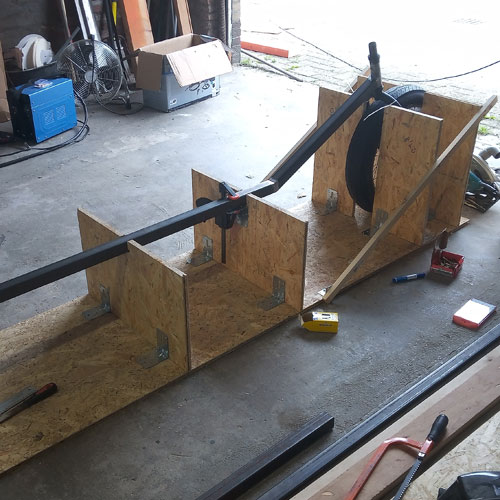
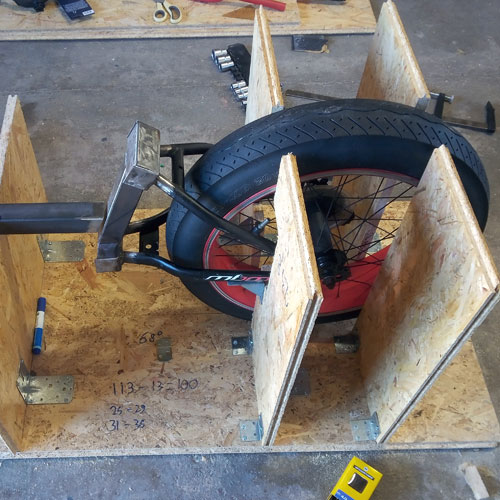
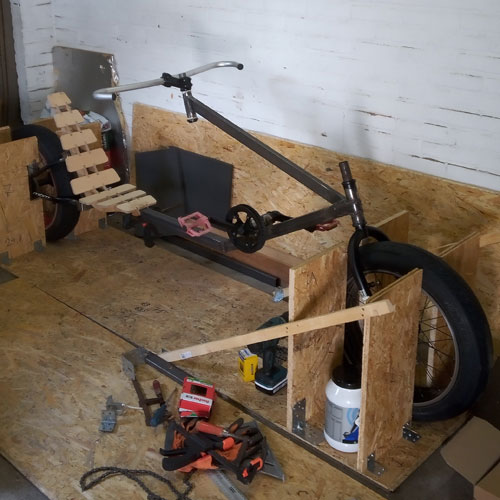
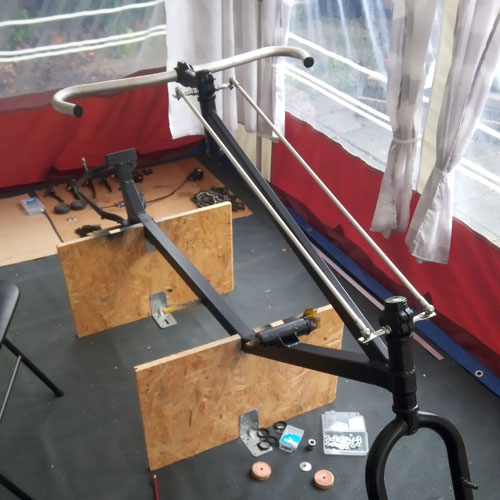
OSB mold
To align everything properly and make it easy to weld, i made a mold from OSB boards. Assuming that these boards are square and level, i drew a line in the middle on which i aligned the frame of the bicycle. Laying the board on a flat surface, like a smooth garage floor, will help everything line up straight and square.

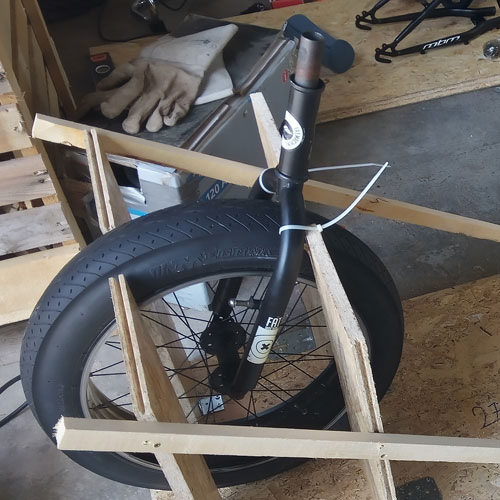
Fixing the front fork angle
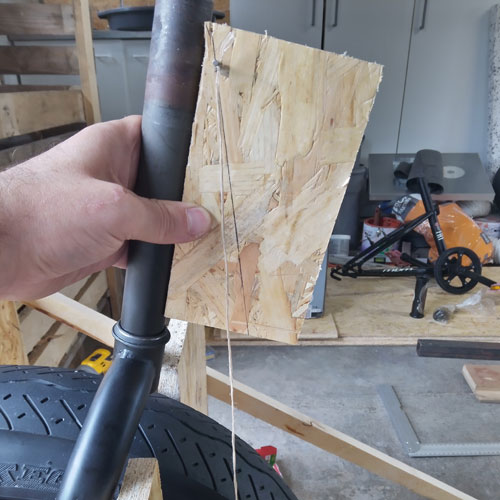
Aligning the frame tube

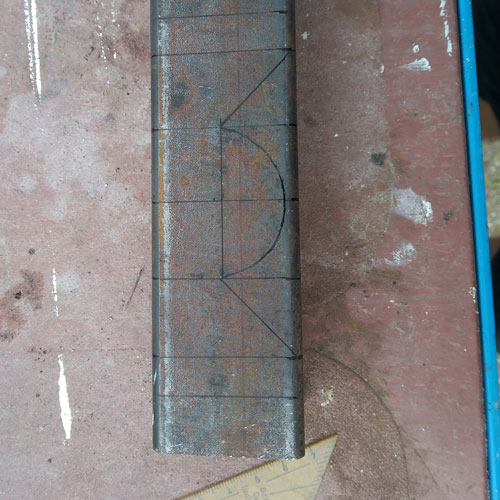
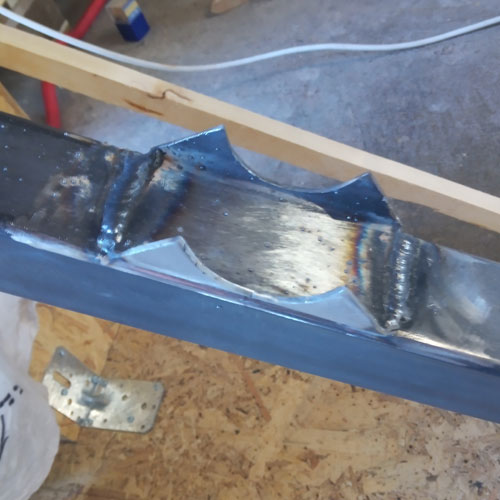
Frametube bend
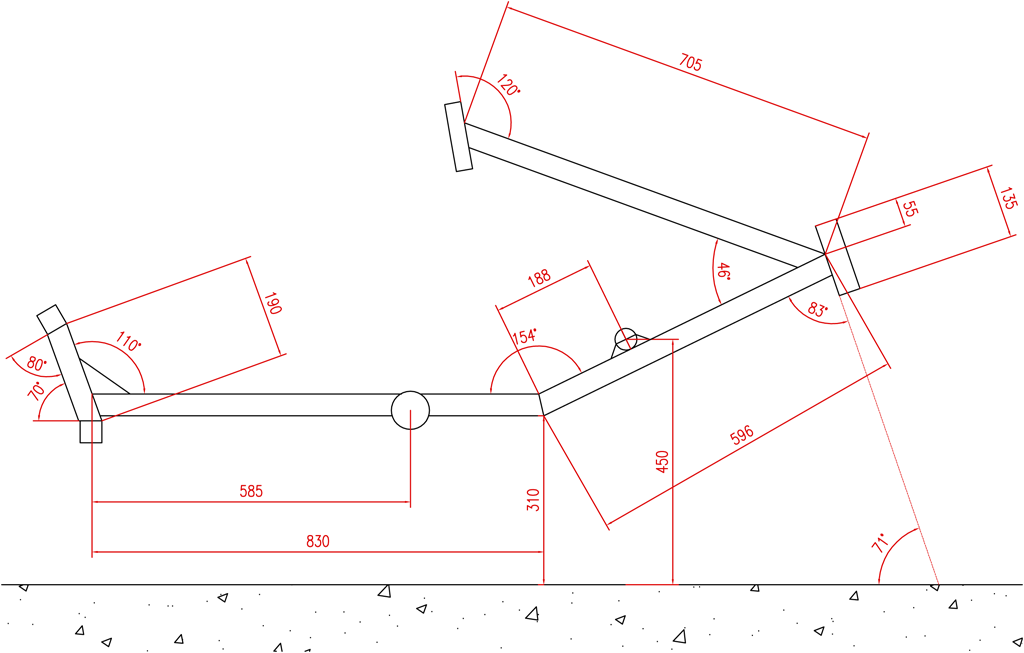
The place and angle where the frame tube bends up towards the front head tube is determined by the position of the bottom bracket. The center of the bottom bracket should be 45cm from the ground and +- 27cm behind the rear of the front tire so that your feet do not touch the front tire or the ground while pedaling and there is still room for a possible fairing around the bicycle.
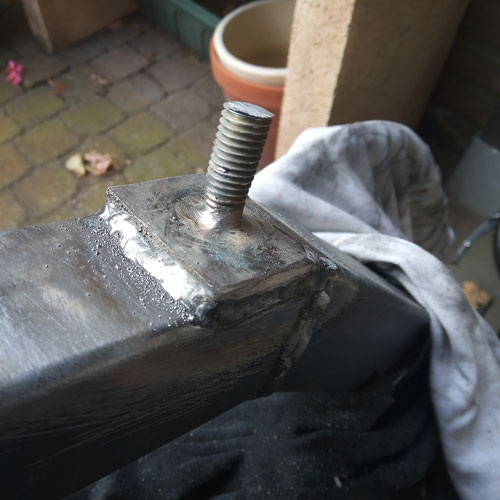
The bend can be made in the frame tube by cutting the correct angle from the the top of the tube without cutting all the way through and bending and welding it after.
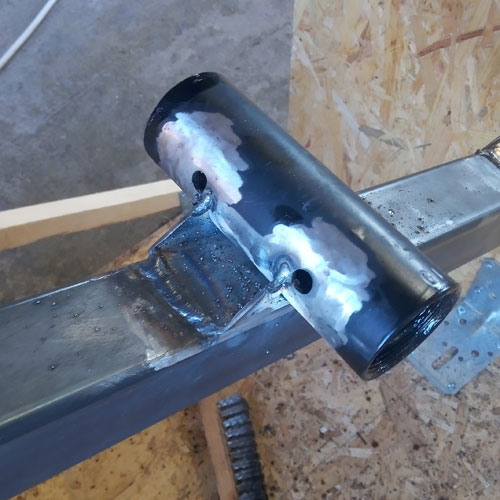
Welding the frame tube to the head tube
The frame tube can then be welded to the front head tube.

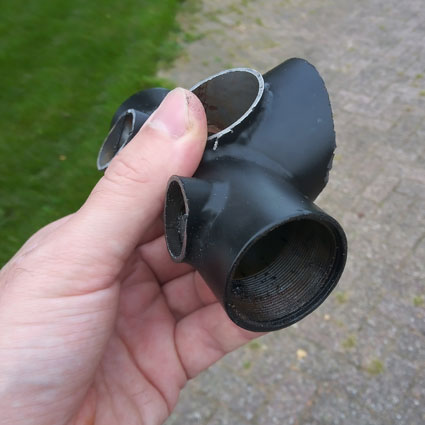
Rear fork

Bottom bracket
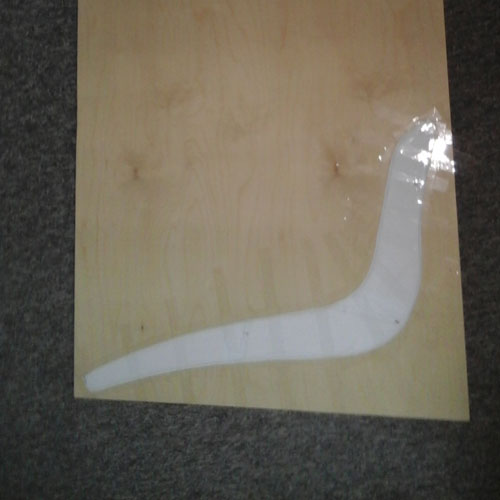
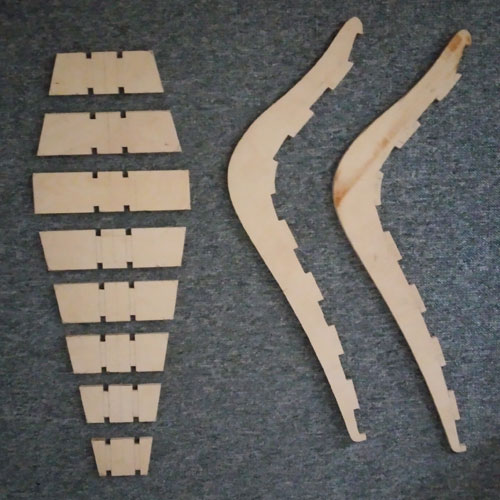
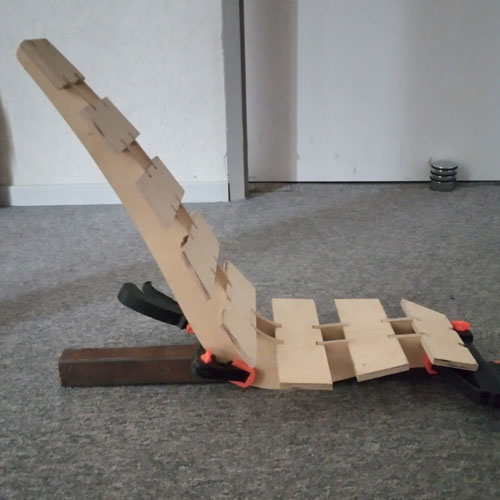
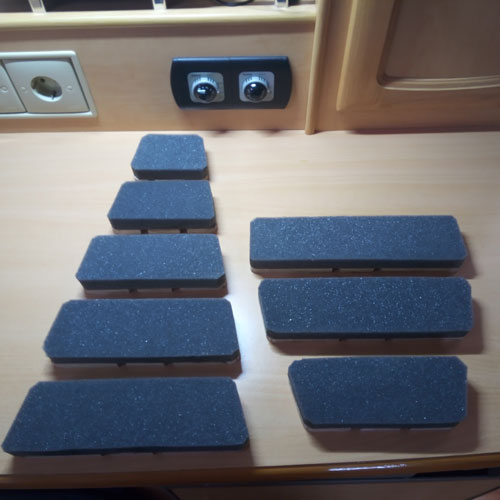
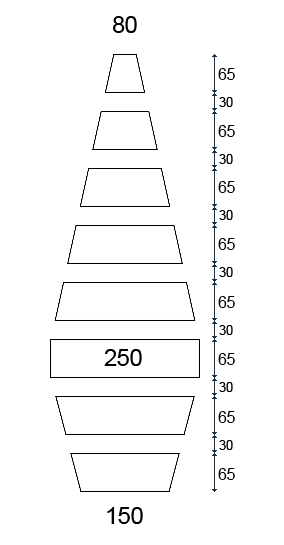
Seat
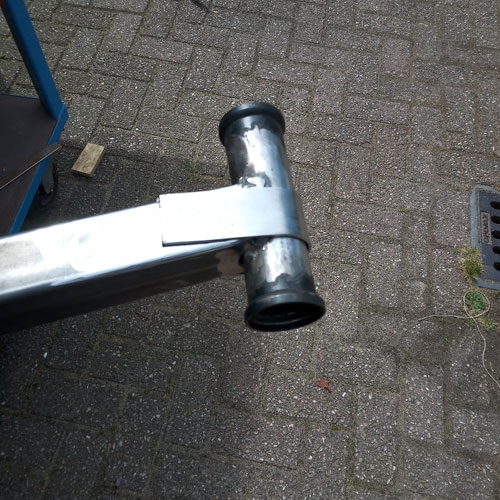
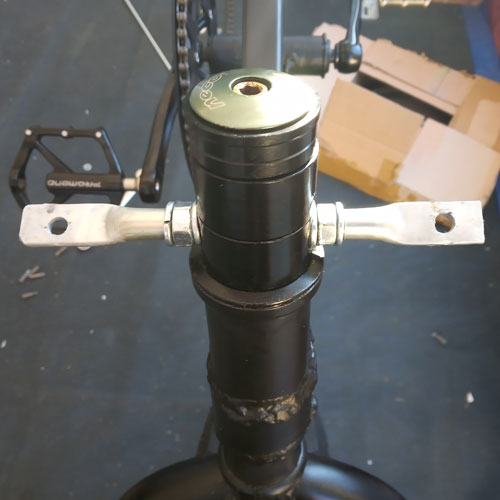
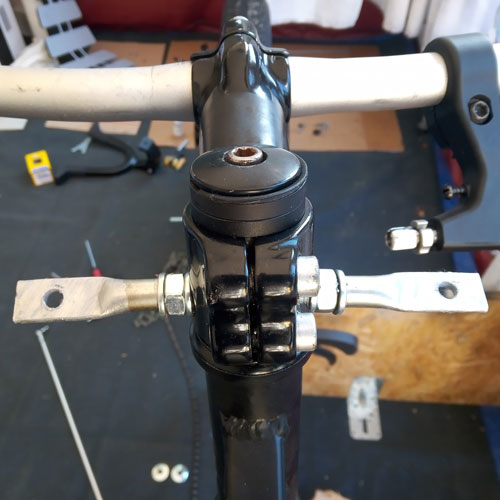
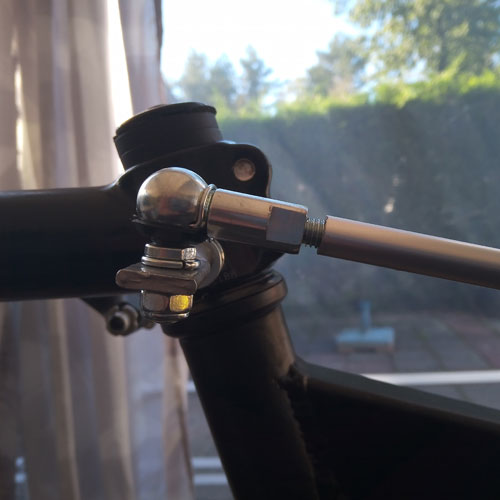
Steering tube
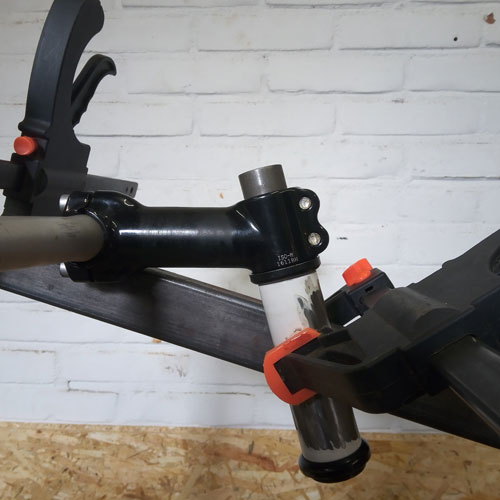
Steering rods
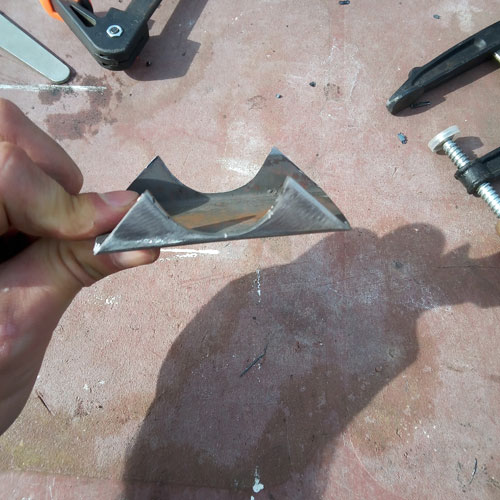
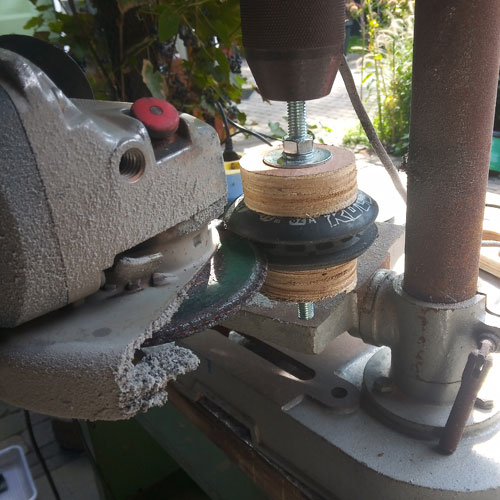
Guide pulleys
To guide the chain under the seat, you can use ready-made chain guide pulleys. The cheaper option is to make the pulleys yourself by cutting a groove into some old inline skate wheels.
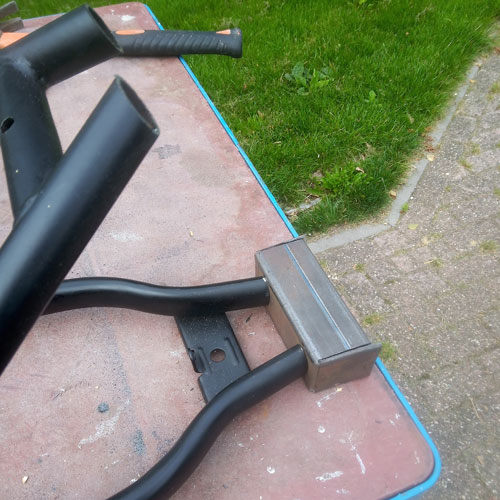
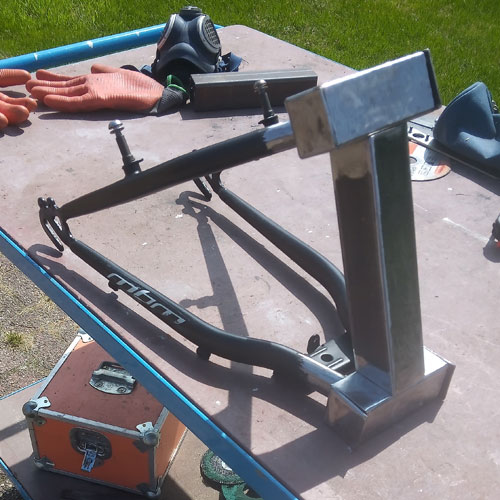
Bicycle stand
Final assembly
For the final assembly, i reused the cassette, rear derailleur, V-brakes and brake levers from the donor bike. The front chainring of the children's bicycle only had 24 teeth, so i replaced it with a new chainring with 60 teeth, including new cranks and pedals. I bought a new 6-speed shifter for the 6-speed rear derailleur. The brake and gear cables are of course all new. It might have been nicer to guide the cables through the frame, but for practical reasons i secured them to the frame with tie wraps.
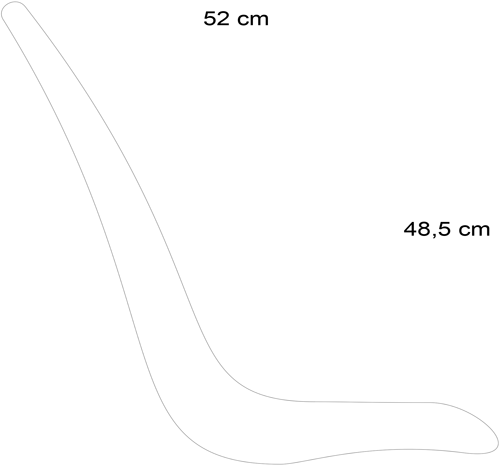
Blueprints
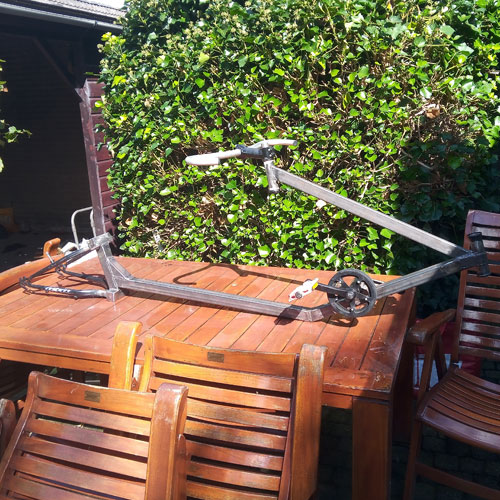
Because i made the frame on the fly i don't have a design for it but i measured everything later and made a sketch of it. Because i am 175cm tall myself, the frame may be a bit too small for taller people. However, the seat can be moved back about ten centimeters. The dimensions on the sketch are in mm.
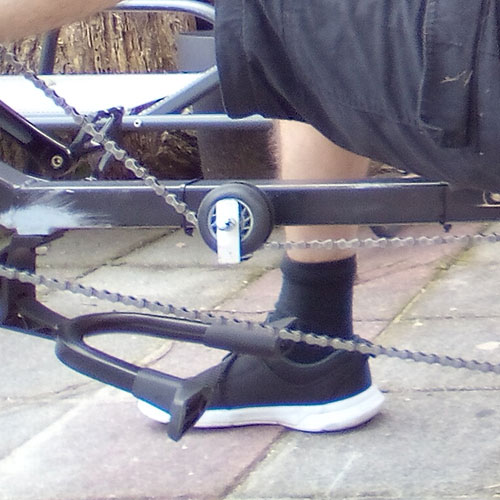
Demo
It takes some getting used to, but the bike is pretty stable. Because it's a LWB (long-wheel-base) design, the turning circle is a bit large. But compared to a normal bicycle, the sitting position is very comfortable.
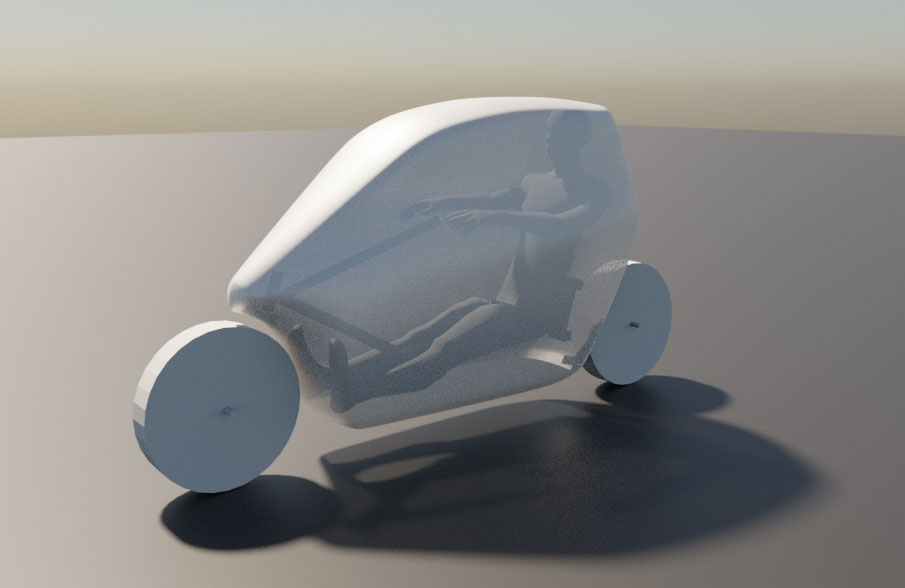
Fairing
I am currently building a fairing that i designed myself in Blender. The fairing will be made from polyester/fiberglass laminate. Below is a render of the Blender design: